Redtail CRM offers subscribers a ton of opportunities to customize their CRM, both at the individual and at the database level. These opportunities for customization are important because they allow you to set your database preferences and lists up in ways that work the best for both you as an individual as well as for your office. Taken together, these customization options will help drive user adoption and, ultimately, help you streamline your processes while at the same time personalize and improve the client experience your firm provides.
You can browse all prior posts in this series here. In this post, we’ll take a look at how you can manage Team Notices as well as Web Links.
Manage Team Notices
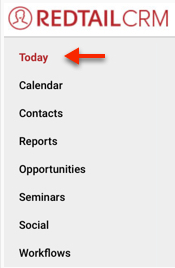
When logging into your database, the default login page is your Today page (which is otherwise accessible by clicking Today on your Left Menu Bar):

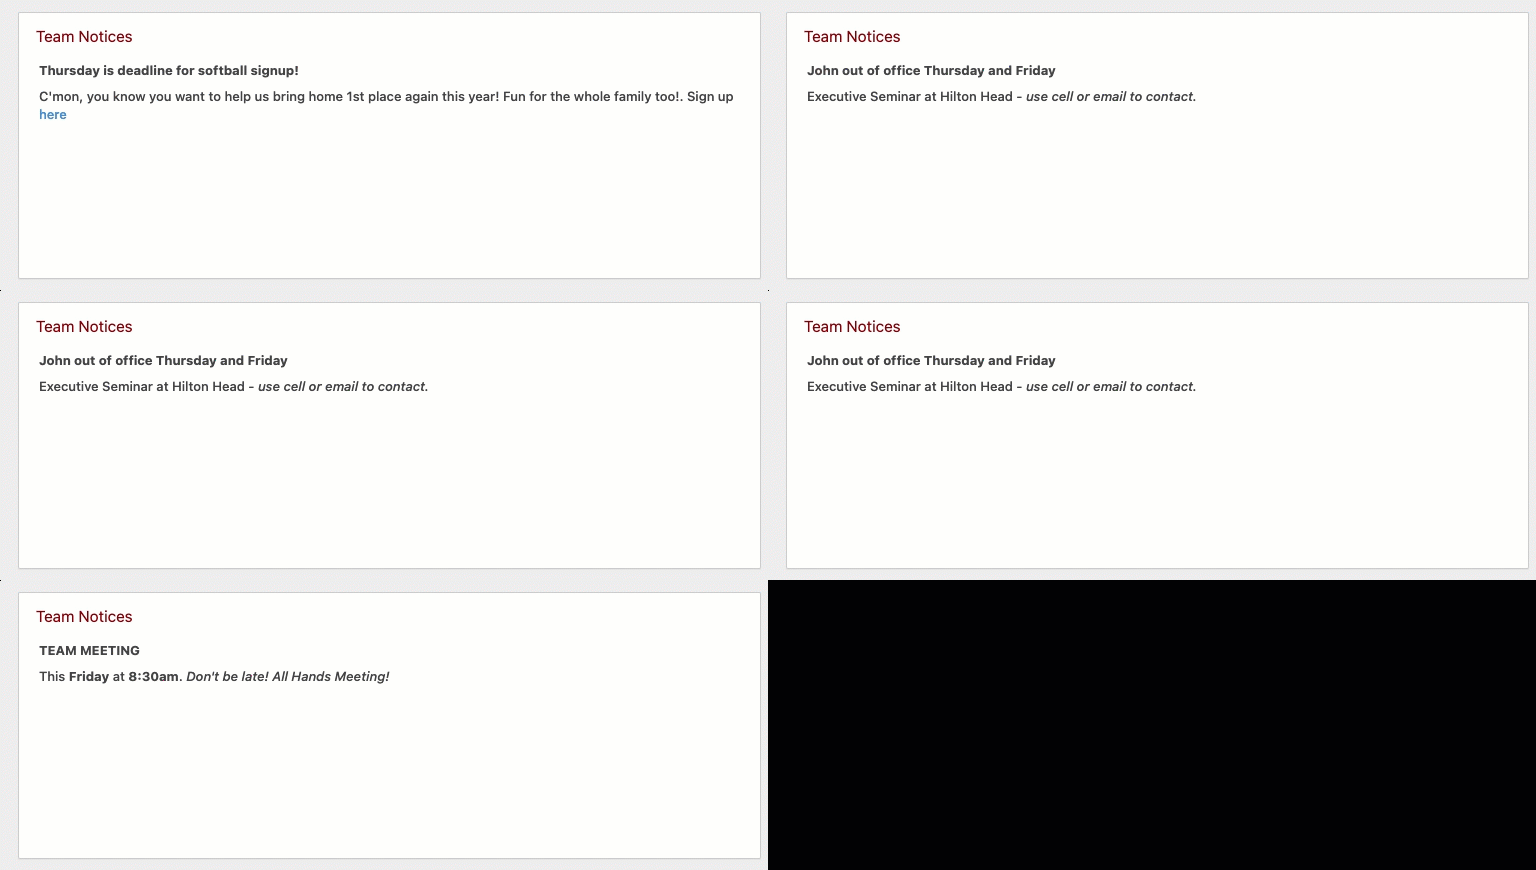
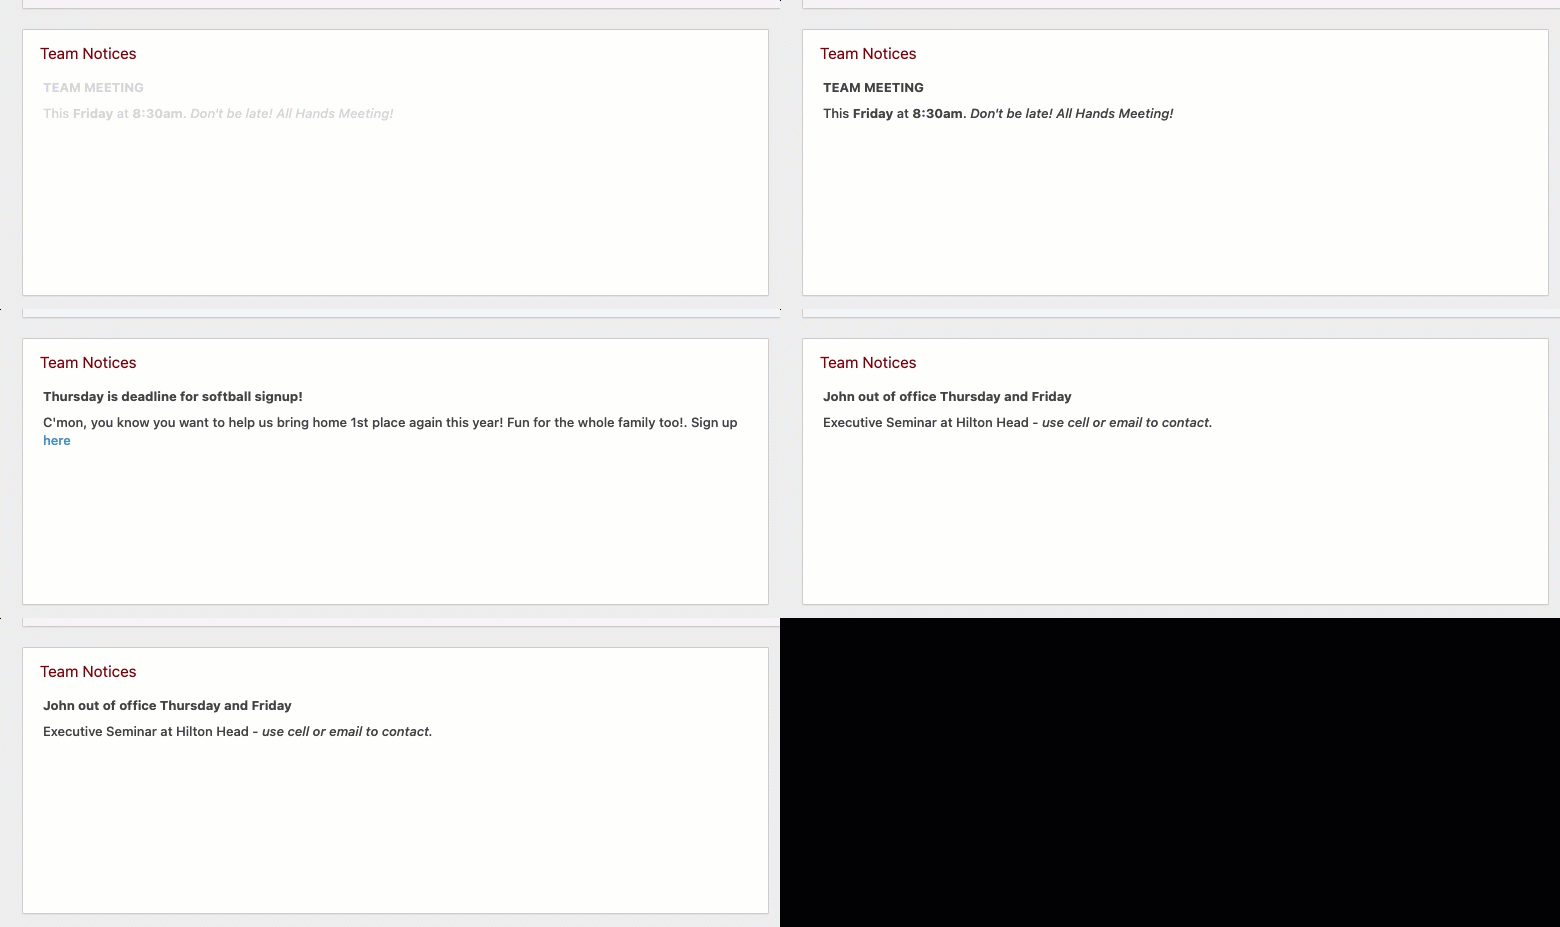
One of the areas you’ll see on your Today page is the Team Notices area:

Team Notices can be particularly useful if you have multiple database users. You can choose to display whatever type of information you would like within the Team Notices section as well as adding as many of these as you would like. They will display here in a scrolling fashion that refreshes every few seconds, as in the example above.
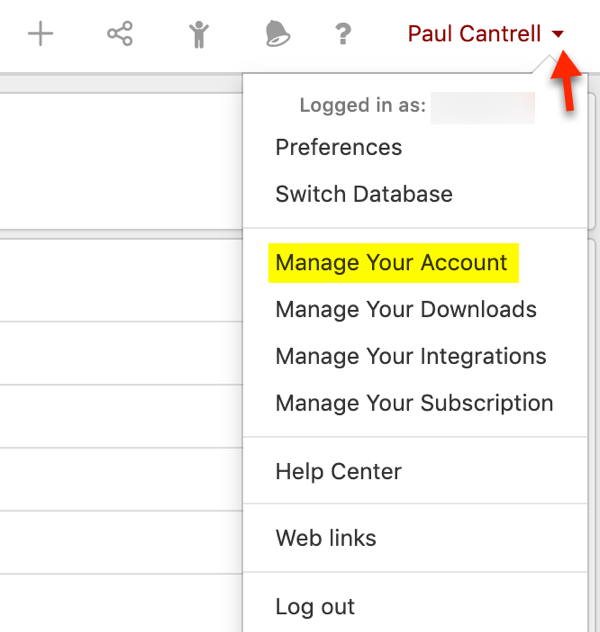
To add a Team Notice, go to Manage Your Account:

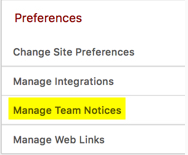
Then, click Manage Team Notices in the Preferences section:

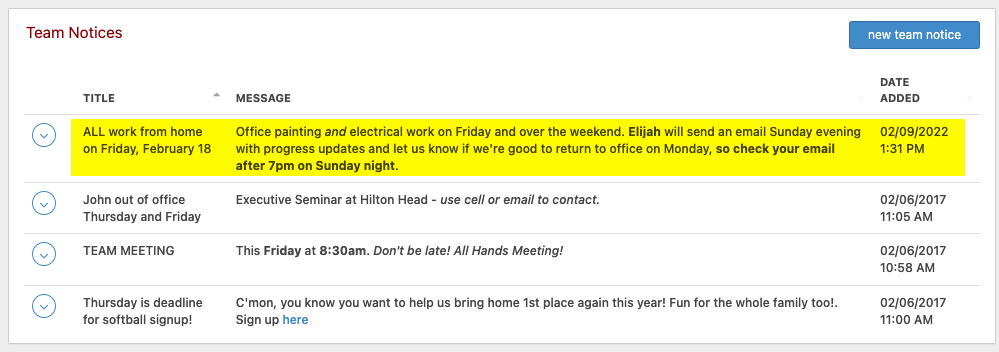
On the resulting page, you will see any existing Team Notices that have been added to your database:

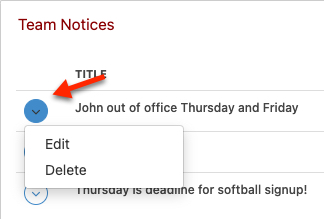
From here, once a Team Notice is no longer needed, you can click the Actions menu to its left to edit or delete the Notice:

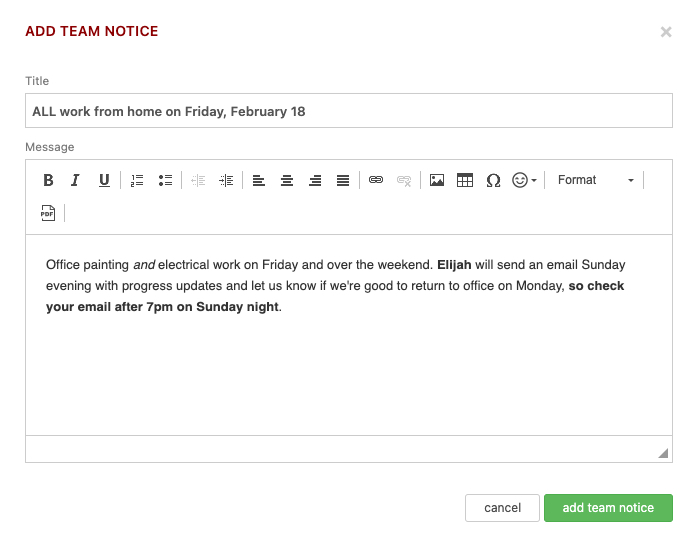
Or, click the new team notice button to add a new one. You would then see the below:

We’ve already given this Team Notice a Title and Message for demonstration purposes. You can place whatever types of information you would like in this section. Note as well that you have formatting options for the Notice itself, should you want to format the text. Then click add team notice. You’ll then see a list of all of the Team Notices within your database, with your new one reflected there as well:

If you return to your Today page, you’ll see the Team Notice you’ve just added is now a part of the scrolling messages within that area:

Manage Web Links
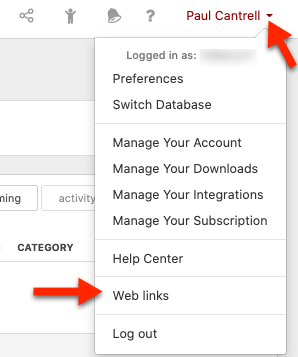
Situations may arise where you’re working on a different machine than the one in your office or a laptop that you commonly use. In those cases, you might not have access to your bookmarks or tabbed browser settings. If, however, you’ve stored common website addresses that you use frequently in this area within Redtail, you wouldn’t have to go digging for them. They would just be a click away, from the Redtail menu accessible by clicking your name in the upper right corner:

After clicking Web Links, you’ll see a list of any web links already set up within your database:

In our example above, six Web Links have been added to this database. You can add as many as you would like here though.
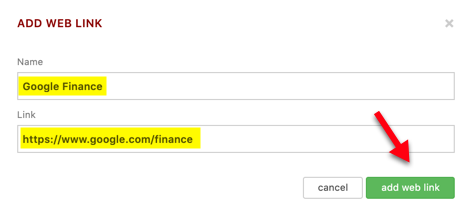
Let’s say you wanted to add a Web Link for Google Finance. If you go to Google Finance’s home page on the web, you can copy the Link URL directly from their home page. Next, within Redtail’s Web Links area, click the new button in the top right corner (which you can see above). You’d then see the below:

As we’ve done above, just type in the name you want to use for your Web Link and paste in the URL you copied from that web site. Then, click Add Web Link.
When you next access your Web Links, you should see that Google Finance has been added.
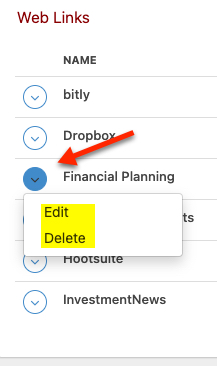
Note: if you ever need to edit or delete a Web Link you’ve set up, just click the Actions menu to that item’s left and choose one of those two actions:
In our next Manage Your CRM series post, we’ll take a look at Managing Broadcast Emails in Redtail CRM.
As always, if you have any questions along the way as we address these, you can reach out to our team at support@redtailtechnology.com or 800.206.5030. We are always happy to help you understand any aspect of Redtail CRM better so that you can better put it to use in your business!


